 Anacortes
 Building New in Skyline? Windows Are Not the Place to Cut Corners
If you're framing a new home in the Skyline area of Anacortes, the window package is one of the few decisions that's genuinely hard to fix later. Once siding, trim, and interior finish work close in around a window opening, swapping out an undersized frame or a poorly flashed unit becomes a much bigger job than it would have been during rough-in. Skyline sits up on higher ground with open exposure toward the water, which means homes here catch more wind-driven rain and salt-laden air than lots tucked into town or down in more sheltered pockets of Skagit County. That exposure should shape how the window opening is built, sealed, and flashed — not just which brand of window goes in.
This page covers new-construction window installation specifically for Skyline lots: what the site conditions demand, how a correct rough opening and flashing job is built, and what our process looks like from framing walkthrough to final trim. It's written for homeowners and builders working with a GC, not as a general window buying guide.
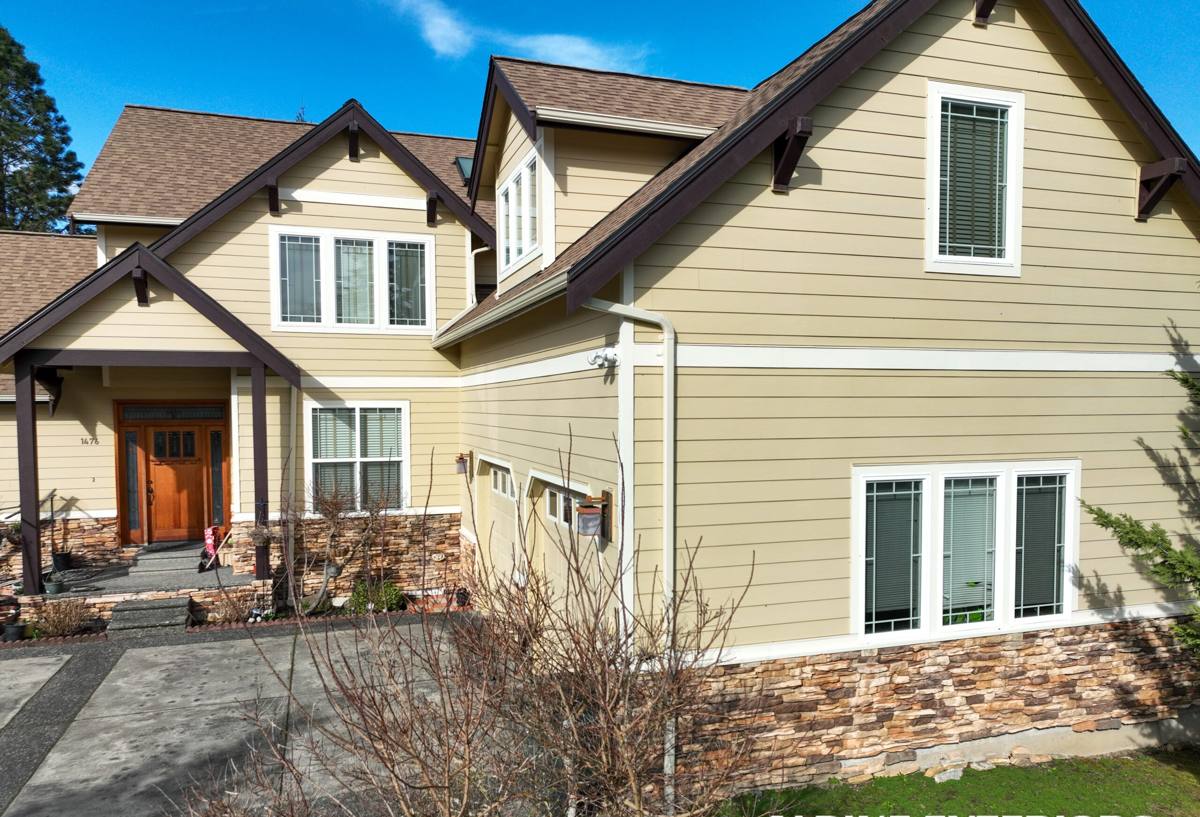
What Skyline's Exposure Actually Does to a Window Opening
Three things define window performance on this stretch of the coast, and all three show up over years, not days — which is exactly why they get missed during construction.
Salt air and hardware corrosion
Airborne salt from Rosario Strait and the surrounding waters accelerates corrosion on anything ferrous — cheap fasteners, uncoated flashing, low-grade hardware. On elevated, exposed lots like much of Skyline, this isn't a coastal-cottage problem, it's a standard-exposure problem. We spec corrosion-resistant fasteners and flashing at every window opening on these builds as a matter of course, not an upcharge.
Wind-driven rain
Rain in this part of Skagit County rarely falls straight down. Wind pushes it sideways and up under trim, sills, and reveals, which is why a window that would perform fine in a still, dry climate can still leak here if the flashing sequence isn't built to shed water at every layer, not just at the surface caulk line.
Moss season and prolonged dampness
Anacortes gets a long stretch of wet, mild weather each year where surfaces stay damp for extended periods — the same conditions that grow moss on roofs and north-facing siding. Around windows, prolonged dampness at the sill or head is what eventually rots wood trim and stains finishes if the drainage plane isn't doing its job. New construction gives us the one real chance to build that drainage path correctly, before it's buried behind siding.
What "Correct" Looks Like on a New-Construction Window Opening
A lot of window problems people blame on the window itself are actually installation problems. The unit can be excellent and still leak or fail early if the opening around it wasn't built right. On new construction, we control every layer, which is the whole advantage over a retrofit.
The layers, in order
- Rough opening sizing — built to the window manufacturer's specified tolerances, not "close enough." Too tight and the unit racks; too loose and you're relying on shims and foam to do structural work they weren't meant for.
- Weather-resistive barrier integration — the housewrap or building paper has to lap correctly with the flashing at the opening, not just get taped over it as an afterthought.
- Sill pan flashing — a sloped, sealed pan at the bottom of the opening so any water that gets past the window has somewhere to go besides the framing.
- Jamb and head flashing — sequenced so water sheds down and out, following proper shingle-lap order (sides before top, top laps over sides).
- Window unit set and leveled — shimmed at the manufacturer's specified points, fastened per their schedule, checked for square before anything gets covered.
- Air sealing — low-expansion foam or backer rod and sealant at the interior gap, which affects both energy performance and condensation control.
- Exterior trim and sealant — the visible finish layer, which should be the last line of defense, not the only one.
Skip or shortcut any one of these seven layers and you've built a leak point that won't show itself until years after the crew is gone.
Where new construction has an edge over retrofit work
On a retrofit, we're often working around existing siding, trim, and interior finishes, which limits how much of that flashing sequence we can rebuild without a bigger tear-out. On new construction in Skyline, we get the opening from bare framing, which means every layer above gets built correctly the first time — no compromises for what's already in place.
Our Process on a Skyline New-Construction Job
1. Framing walkthrough
Before windows arrive, we walk the rough openings against the approved window schedule — checking sizes, headers, and sill heights while changes are still cheap to make.
2. Flashing and weather barrier install
We install sill pans and integrate the weather-resistive barrier at each opening, sequenced correctly before any window goes in the hole. This is the step that determines whether the house stays dry for the next thirty years, and it's the step that's easiest for an unfamiliar crew to rush.
3. Window set
Units are set square and plumb, shimmed at manufacturer-specified points, and fastened per the window maker's installation instructions — which vary by brand and product line, and which we follow rather than a generic "how we've always done it" approach.
4. Air seal and insulate
Interior gaps get sealed for both draft control and to reduce the chance of interior condensation at the frame, a real concern during Anacortes's long damp stretches.
5. Exterior trim and final seal
Trim goes on, sealant joints are placed at the manufacturer-specified locations (and only there — over-sealing can trap moisture instead of shedding it), and we do a final visual and operational check on every unit.
6. Walkthrough with the builder or homeowner
We go over what was installed, how it operates, and what routine maintenance looks like before we consider the job done.
Choosing Window Products for a Skyline Exposure
We're not tied to one brand, and we're upfront that different product lines make different trade-offs. What we care about on an exposed Skyline lot is frame material and hardware that hold up to salt air and sustained moisture without high-maintenance upkeep.
| Frame Material | How It Handles This Climate | Maintenance Trade-Off |
|---|---|---|
| Vinyl | Good moisture and salt resistance; won't rot or corrode | Low maintenance; limited color/repaint options |
| Fiberglass | Excellent dimensional stability, handles temperature and moisture swings well | Higher upfront cost; very low long-term maintenance |
| Wood-clad | Good performance if cladding and seals stay intact | Cladding failure or gaps invite moisture into the wood core — needs careful install and inspection |
| Aluminum | Strong but conducts heat/cold and can corrode without proper coatings near salt air | Needs marine-grade hardware and coatings in this exposure, or we don't recommend it here |
We steer builders and homeowners away from bare aluminum frames on exposed Skyline lots unless they're properly coated and hardware-rated for coastal exposure — not because aluminum is a bad product broadly, but because our standard here is to match the frame to the site conditions, and unprotected aluminum asks for more corrosion-related maintenance than most homeowners want to sign up for.
Performance Factors Worth Deciding Early
On new construction, these are cheap to specify up front and expensive to change after drywall goes up.
- U-factor and glazing package — affects heating costs through our mild but persistently overcast winters.
- Water resistance rating — matters more on an exposed Skyline elevation than on a sheltered in-town lot.
- Air infiltration rating — ties directly to draft and moisture control at the frame.
- Impact and wind load rating — worth checking against local code requirements for the specific elevation and exposure category of the lot.
- Hardware finish — corrosion-resistant coatings on locks, hinges, and cranks pay off in salt air.
- Screen and weep hole design — weep holes need to stay clear during and after construction so trapped water can actually drain.
A Pre-Drywall Checklist We Run on Every Job
Before any opening gets buried behind interior finish, we confirm:
- Rough opening dimensions match the approved window schedule
- Sill pan is sloped and sealed with no gaps at the corners
- Weather-resistive barrier laps correctly over the flashing (not under it)
- Window is set square, plumb, and shimmed at the correct points
- Fasteners meet the manufacturer's schedule for type and spacing
- Weep holes and drainage paths are clear of debris and sealant
- Interior air seal is complete without over-packing the gap
- Unit operates smoothly — opens, closes, and locks without binding
Why It Matters to Hire a Crew That Already Works Skyline
A window installation crew that mostly works inland or in more sheltered parts of Skagit County can do fine work and still under-build for Skyline's exposure, simply because it's not the norm where they usually work. We install windows across Anacortes and the surrounding areas regularly enough to know that a Skyline lot facing open water exposure needs a different level of flashing detail and hardware spec than a lot tucked behind a ridge or downtown block. That's not a knock on other crews — it's just what site-specific experience buys you: fewer assumptions, fewer callbacks, and a flashing sequence built for the actual weather the house will see, not a generic one.
We also coordinate directly with the GC and framing crew on timing — sill pans and flashing need to go in at a specific point in the build sequence, and getting that handoff right avoids delays and avoids improvising flashing details after siding is already scheduled.
What This Typically Costs
New-construction window installation is priced by the opening — factoring in unit count, size, frame material, and site access — and it's a very different number than a retrofit because there's no removal or tear-out involved. Rather than throw out a broad range that doesn't reflect your specific window schedule, we'll walk your plans and give you a real number. If you're framing a home in Skyline or planning one, we're happy to come out, look at your window schedule, and put together a straightforward, no-pressure estimate using the form below.